Running sysdiagnose and Wireless Diagnostics With Self Service
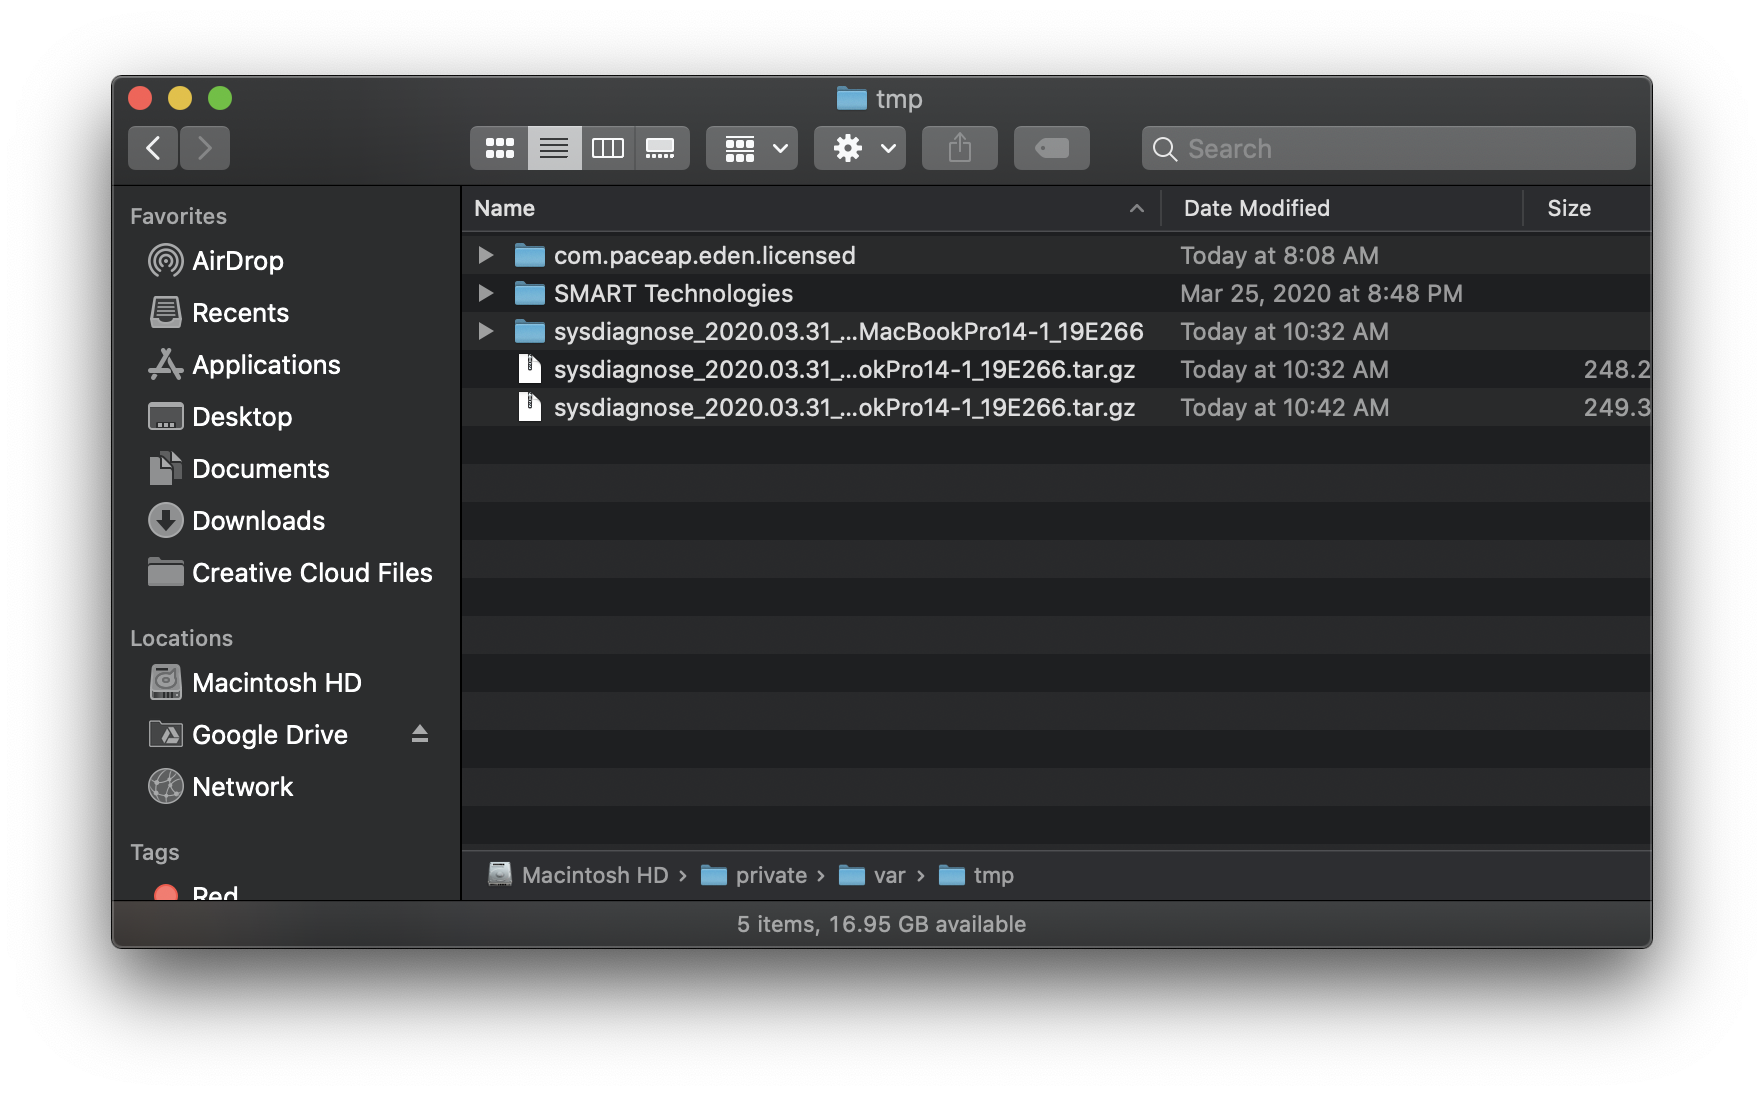
Troubleshooting technology issues this past year has been especially challenging due to the distance coronavirus has forced upon us. Getting good data to help our users has been more difficult when it’s not possible to be in front of their computer. Mac admins who have worked with Apple support or filed feedback know the very first data point usually requested is a sysdiagnose. No logs, no help. A sysdiagnose contains a voluminous amount of log files which can help pinpoint exactly what’s gone wrong with a Mac. Press shift + ctrl + option + command (⌘) + ., wait for the screen will flash once, and a sysdiagnose process will start running. About 5-10 minutes later a new Finder window will pop up with the sysdiagnose archive in /private/var/tmp.

What I found though, is people had trouble pressing the right key combination. I needed the log data, but some users couldn’t figure out how to start a sysdiagnose. When situations like this come up I tend to go to Self Service where I can implement one click solutions for processes which might otherwise be more involved. Let’s take a look at running the sysdiagnose and wdutil (wireless diagnostics) CLI tools through Self Service.
sysdiagnose
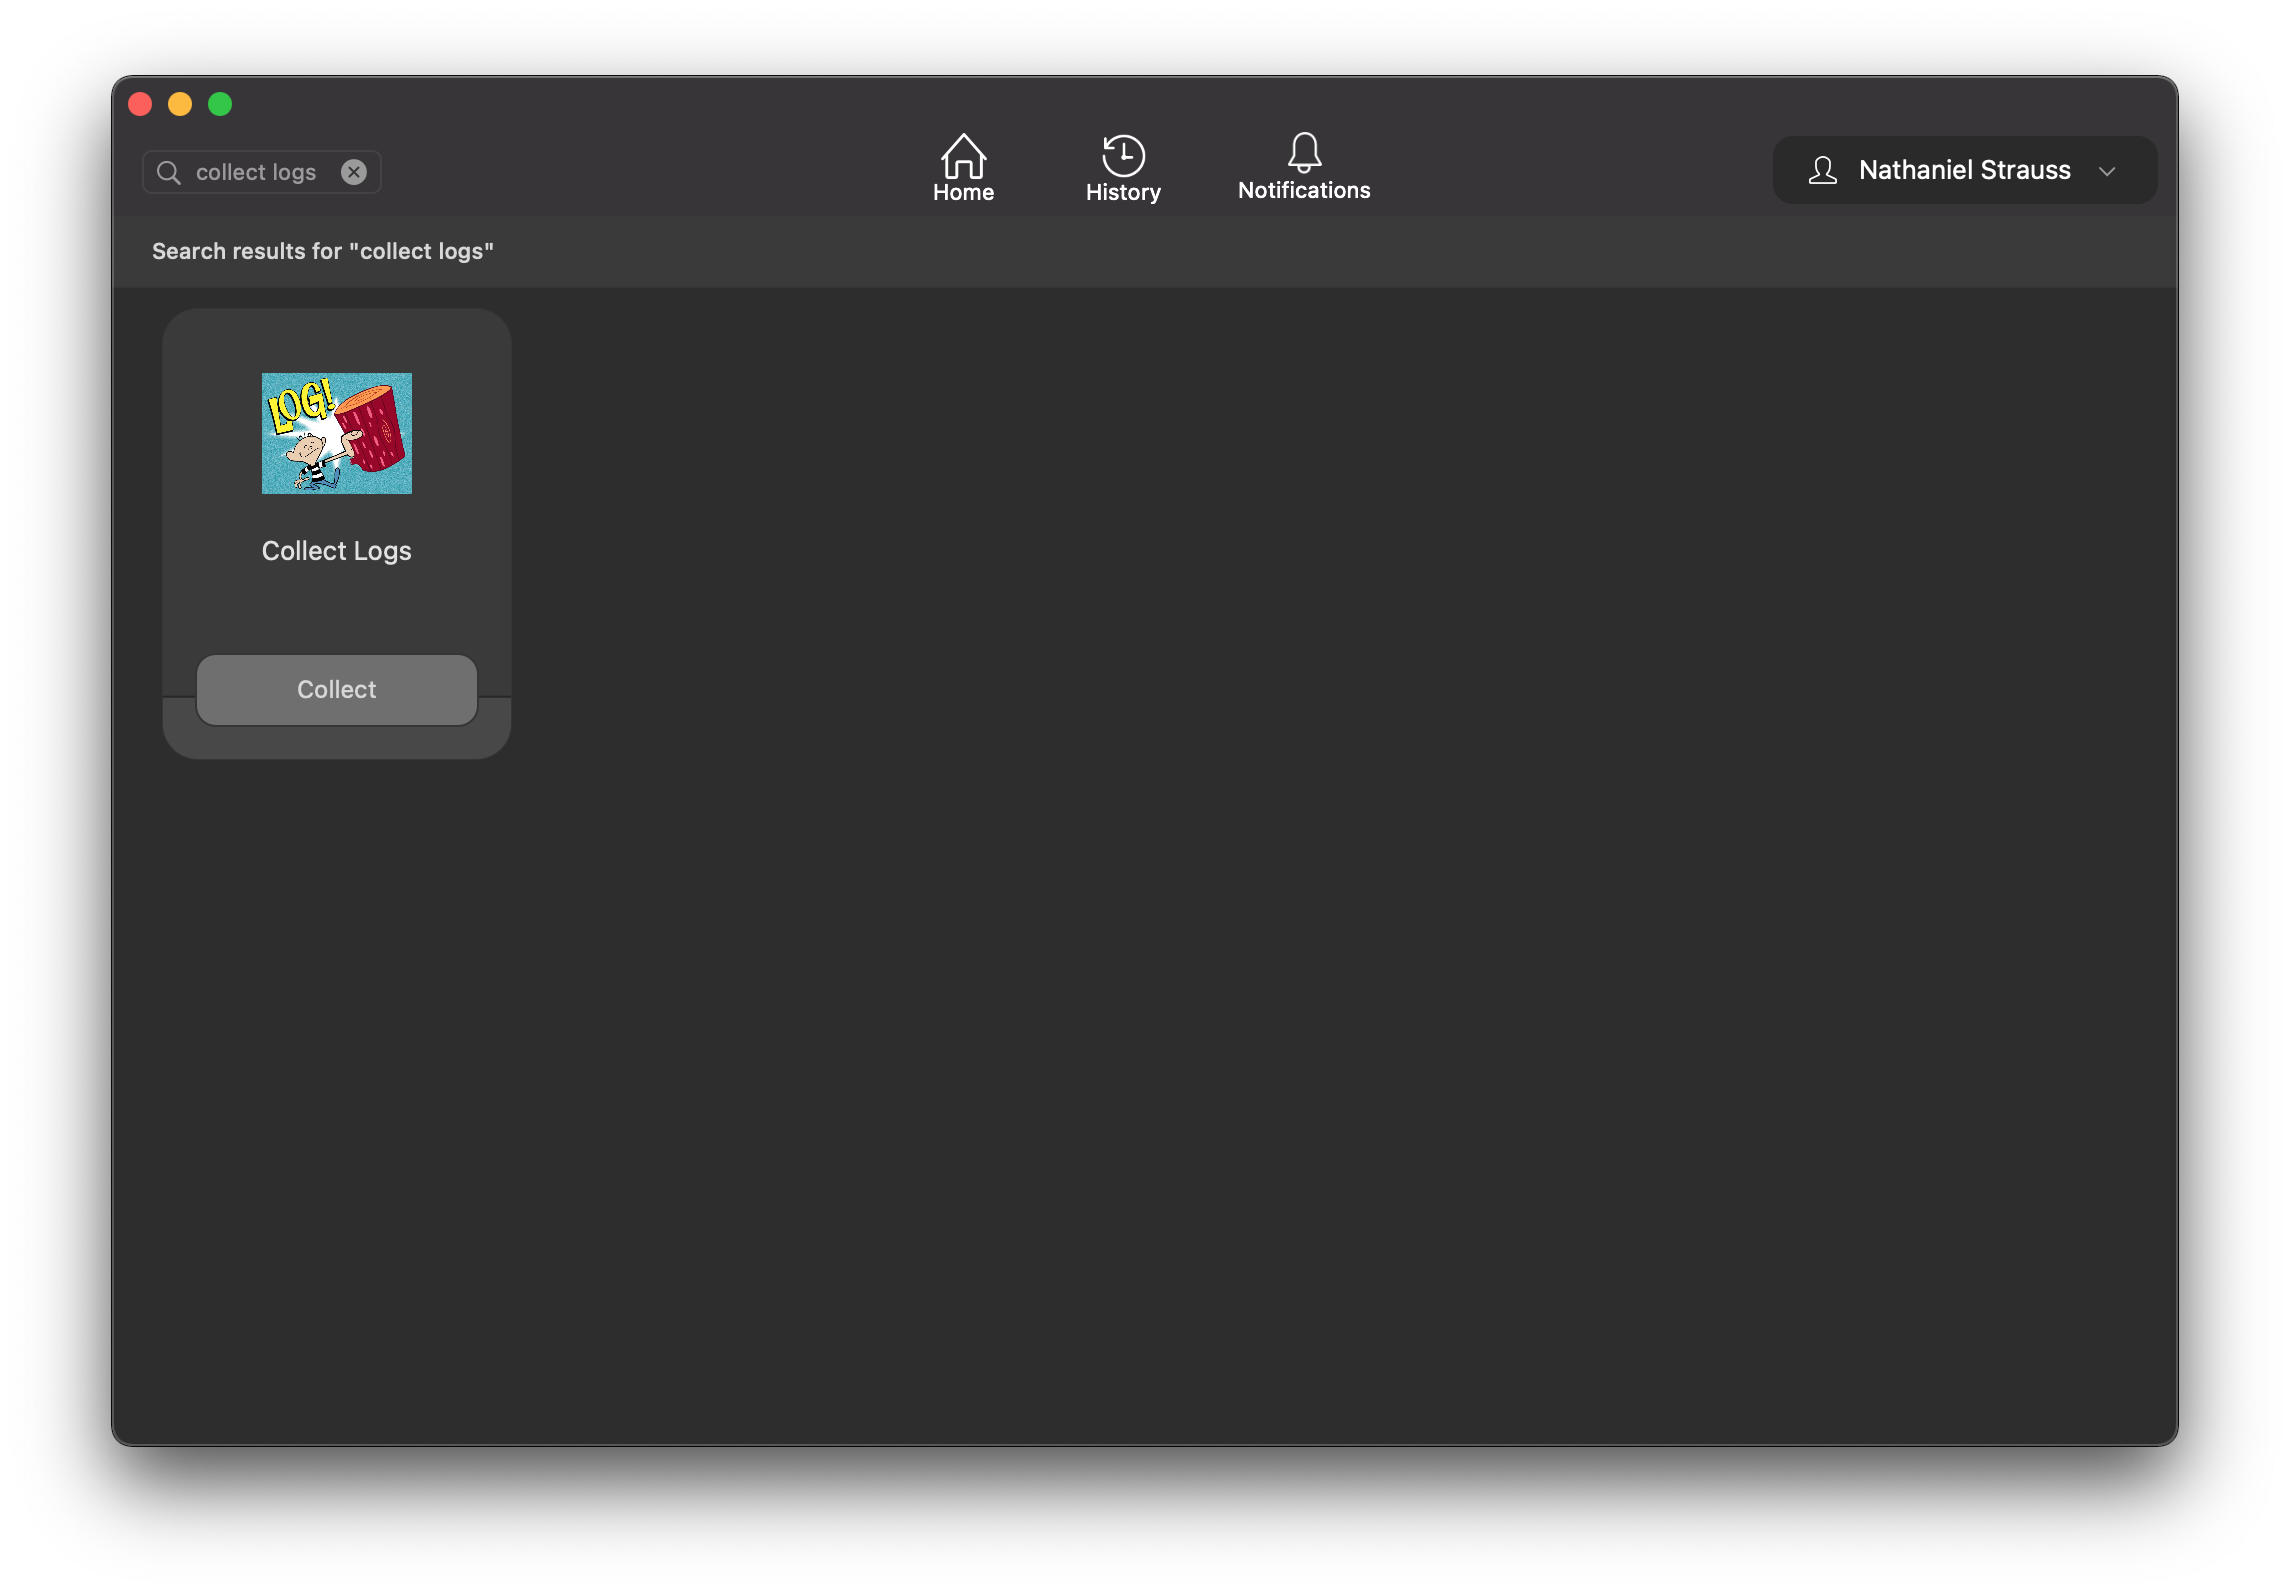
Running sysdiagnose is a very straightforward one liner. The -u option disables UI feedback where otherwise running the command requires interactively pressing enter. The one liner is run through a script instead of the Files and Processes feature in Jamf because I’ve found it’s not possible to detach the process with &. Running the command through a script means the policy can be run in Self Service and then users can go run other policies (maybe installing software) if necessary while waiting for sysdiagnose to finish. The Finder window will still pop up like when running manually with the key combination. Afterward I ask users to upload the generated archive to cloud storage (Google Drive in our case) and share it.
#!/bin/zsh

/usr/bin/sysdiagnose -u &
Wireless Diagnostics with wdutil
wdutil is a lesser known utility which collects wireless diagnostic data. Of course running network related diagnostics through an app which requires network connectivity can be tricky if the only available network connection is really broken. It’s better in a pinch than nothing. The goal is to get logs from a remote client without IT needing to intercede. Just note that running this does require network connectivity, and thus you could be stuck in a situation where it can’t be run. If your users don’t have admin rights then it also can’t be run on the command line since sudo is required.
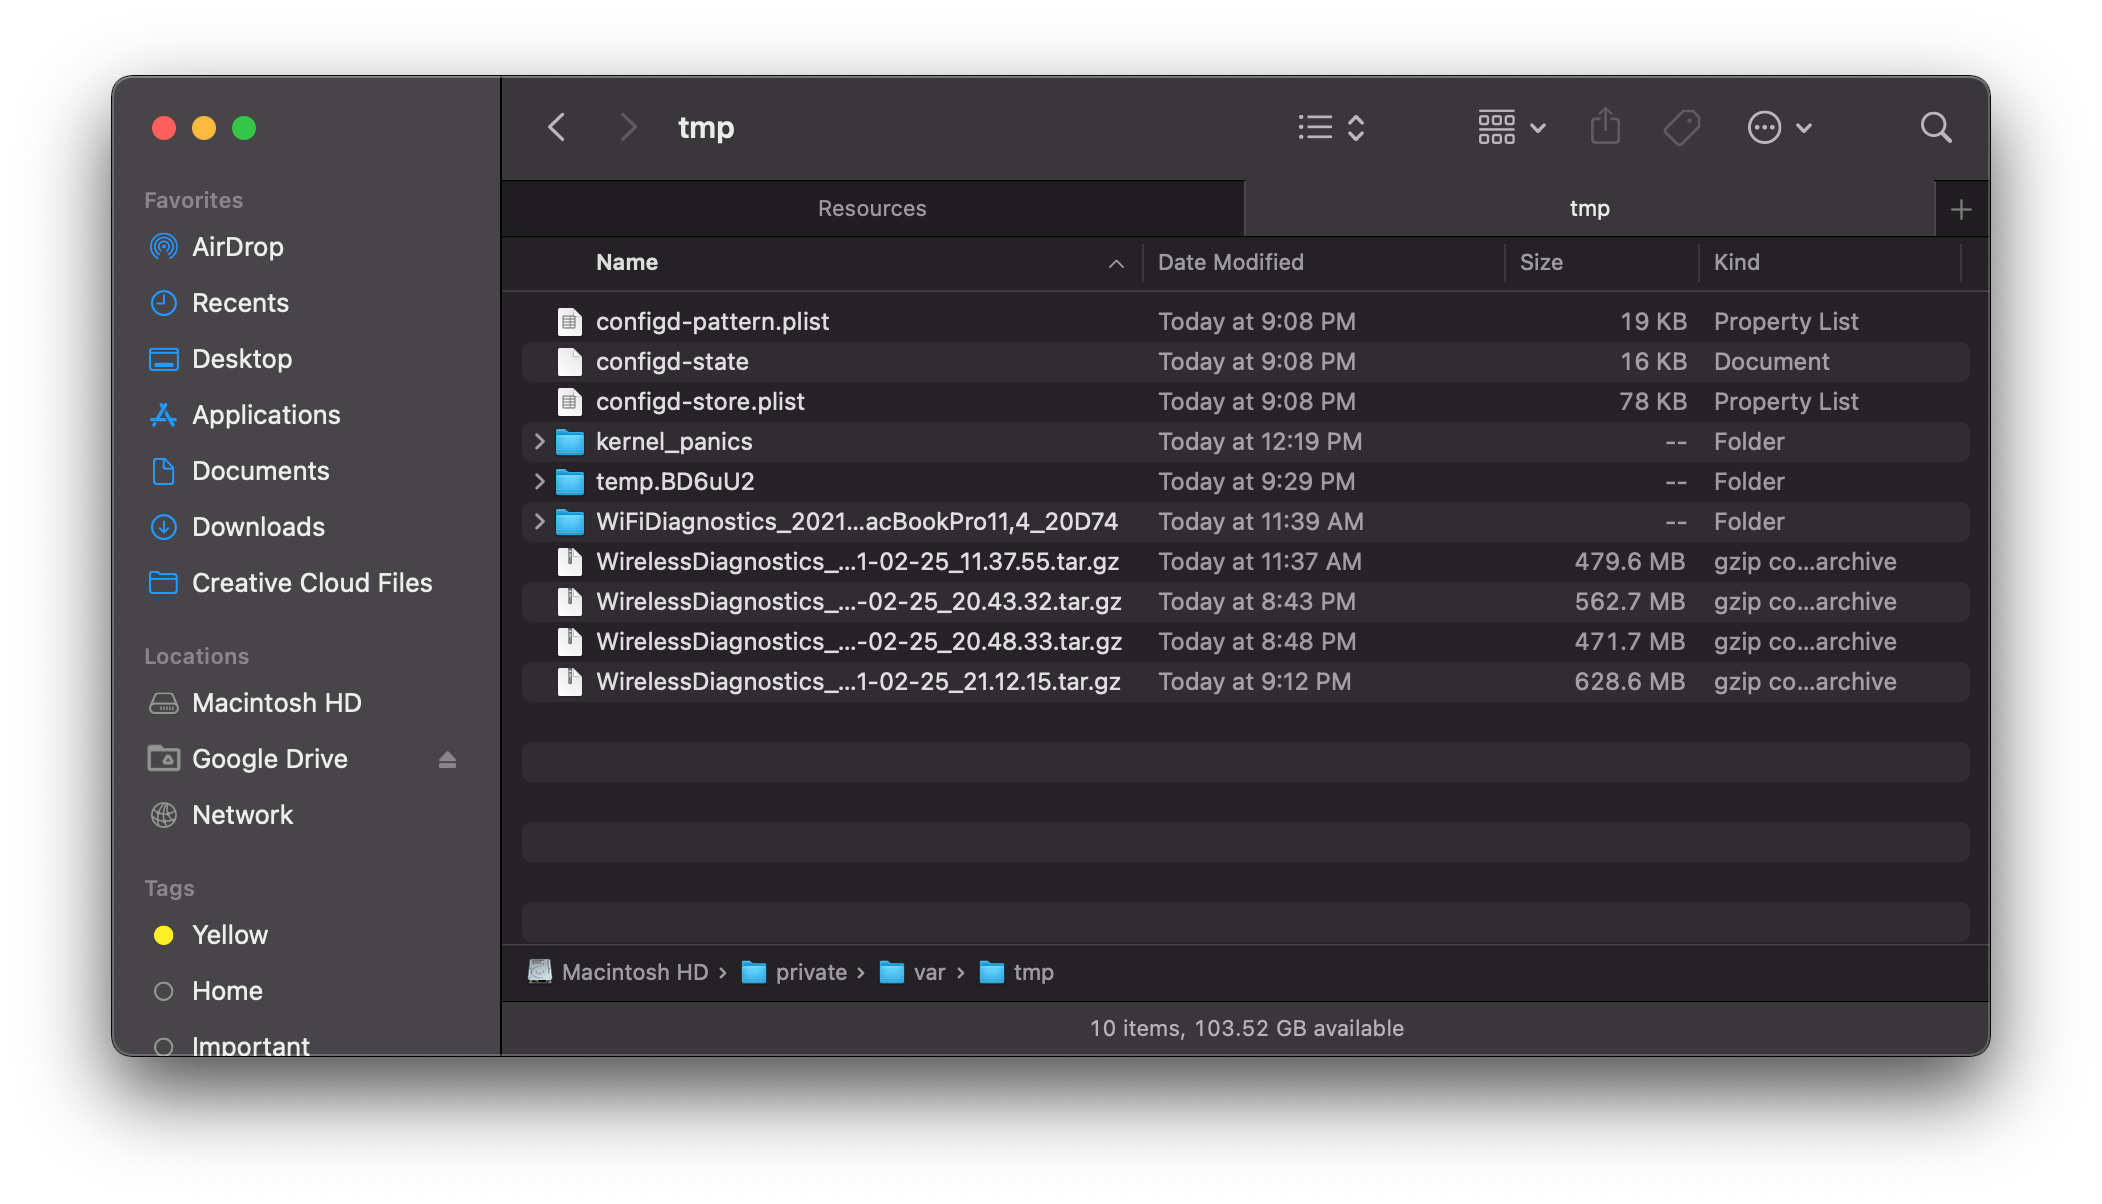
wdutil requires you first define which services to log - DHCP, OpenDirectory, DNS, EAPOL, and Wi-Fi. In this example I’m troubleshooting 802.1x so +wifi and +eapol are set. The wdutil command is then piped through yes as it does require interaction to run. Opening Terminal and running sudo wdiutil will result in Press 'Enter' to continue before running the process. yes accomplishes that for us. Once diagnostics are done a Finder window will pop up. Like with sysdiagnose I then ask users to upload the generated archive for analysis.
#!/bin/zsh

# Enable or disable logging - [{+|-} {dhcp|od|dns|eapol|wifi}]+
# DHCP, OpenDirectory, DNS, EAPOL, and Wi-Fi
wdutil log +wifi +eapol

# Run the diagnostic
yes | wdutil diagnose &