Moving to authchanger with NoMAD Login
NoMAD Login offers up
two flavors of installer package - NoMADLogin.pkg and
NoMADLogin-authchanger.pkg. This post aims to explain what authchanger does, differences
between those two packages, and how to deploy NoMAD Login using authchanger.
authchanger
authchanger
is a binary that adds or removes authorization mechanisms from the authorization
database. If you read my last post on NoMAD Login and DEP workflows you’re
already familiar with mechanisms as the functions that define what
referenced code is run, and in what order, at the login window. To view mechanisms
without authchanger run the follow command in Terminal.
security authorizationdb read system.login.consoleIf modifications haven’t already been made using a security authorizationdb write command or
authchanger then the default plist will be printed with no reference to NoMAD Login. There are also a
few less important fields, including the somewhat ominous comment key.
<key>comment</key>
<string>Login mechanism based rule.  Not for general use, yet.</string>
Oops, guess we’re using it anyway. Now, if you haven’t already, install
authchanger using the vanilla, non-authchanger package. Run sudo authchanger -print to view how it parses out only the mechanisms like below,
not the entire plist.
    builtin:policy-banner
    loginwindow:login
    builtin:login-begin
    builtin:reset-password,privileged
    builtin:forward-login,privileged
    builtin:auto-login,privileged
    builtin:authenticate,privileged
    PKINITMechanism:auth,privileged
    builtin:login-success
    loginwindow:success
    loginwindow:FDESupport,privileged
    HomeDirMechanism:login,privileged
    HomeDirMechanism:status
    MCXMechanism:login
    CryptoTokenKit:login
    loginwindow:done
authchanger can also be run with a -help argument to print a whole bunch of
other options, but since many like -preLogin and -postAuth are still
only available in the premium NoMAD Login+ (now Jamf
Connect), I won’t be addressing
them here. My guess is those features will eventually make it into the free,
open source version as well.
In most scenarios the only arguments required are -AD and -reset.
authchanger -AD will have the same as result as running the command below
where console.bak is a properly formatted plist with NoMAD Login AD mechanisms included.
security authorizationdb write system.login.console < /path/to/evaluate-mechanisms/console.bakThis will write all required additional mechanisms to the
authorization database. Those of you using my AutoPkg
recipe
are already familiar with this as part of my previous postinstall script. The
downside to using security referencing a file on disk, and a major reason for
moving to authchanger instead, is that file must be available. If stored in
/tmp/ it will be removed on next reboot, stored anywhere else you have to assume
it exists or run a check first to ensure it does.
This becomes even more of an issue if the authorization database is modified
incorrectly, something breaks, and you become stuck with no backup to revert to.
That’s where sudo authchanger -reset can save you. The -reset flag, you
guessed it, resets authorization mechanisms back to system defaults. Those are hard
coded, and as of writing this, are the same on all recent macOS versions. At
least for now authchanger will always have the correct mechanisms,
making it a worthwhile tool to keep around even when NoMAD Login isn’t being
used as a permanent login window replacement.
Now run sudo authchanger -AD and then sudo authchanger -print. Output will
include the additional mechanisms NoMAD Login requires to run at login
window. Without these it will not work even if
/Library/Security/SecurityAgentPlugins/NoMADLoginAD.bundle exists with correct
permissions.
    builtin:policy-banner
    NoMADLoginAD:CheckAD
    NoMADLoginAD:EULA
    NoMADLoginAD:PowerControl,privileged
    NoMADLoginAD:CreateUser,privileged
    NoMADLoginAD:DeMobilize,privileged
    builtin:login-begin
    builtin:reset-password,privileged
    builtin:forward-login,privileged
    builtin:auto-login,privileged
    builtin:authenticate,privileged
    PKINITMechanism:auth,privileged
    builtin:login-success
    loginwindow:success
    loginwindow:FDESupport,privileged
    HomeDirMechanism:login,privileged
    HomeDirMechanism:status
    MCXMechanism:login
    CryptoTokenKit:login
    loginwindow:done
    NoMADLoginAD:EnableFDE,privileged
    NoMADLoginAD:SierraFixes,privileged
    NoMADLoginAD:KeychainAdd,privileged
Note running sudo authchanger -AD multiple times in a row will append these
entries one after another. It does not have logic built in to check for current state
of the authorization database. A standard deployment involves running these two
arguments together.
sudo authchanger -reset -ADFirst resetting the authorization database back to a known good state in case it was mucked with earlier, and then adding in NoMAD Login specific authorization mechanisms.
Vanilla v authchanger Packages
When deciding between NoMADLogin.pkg and NoMADLogin-authchanger.pkg there is only one consideration. Should NoMAD Login authorization mechanisms be added now or later? Remember mechanisms define whether or not NoMAD Login will run.
Both packages contain the exact same file structure.
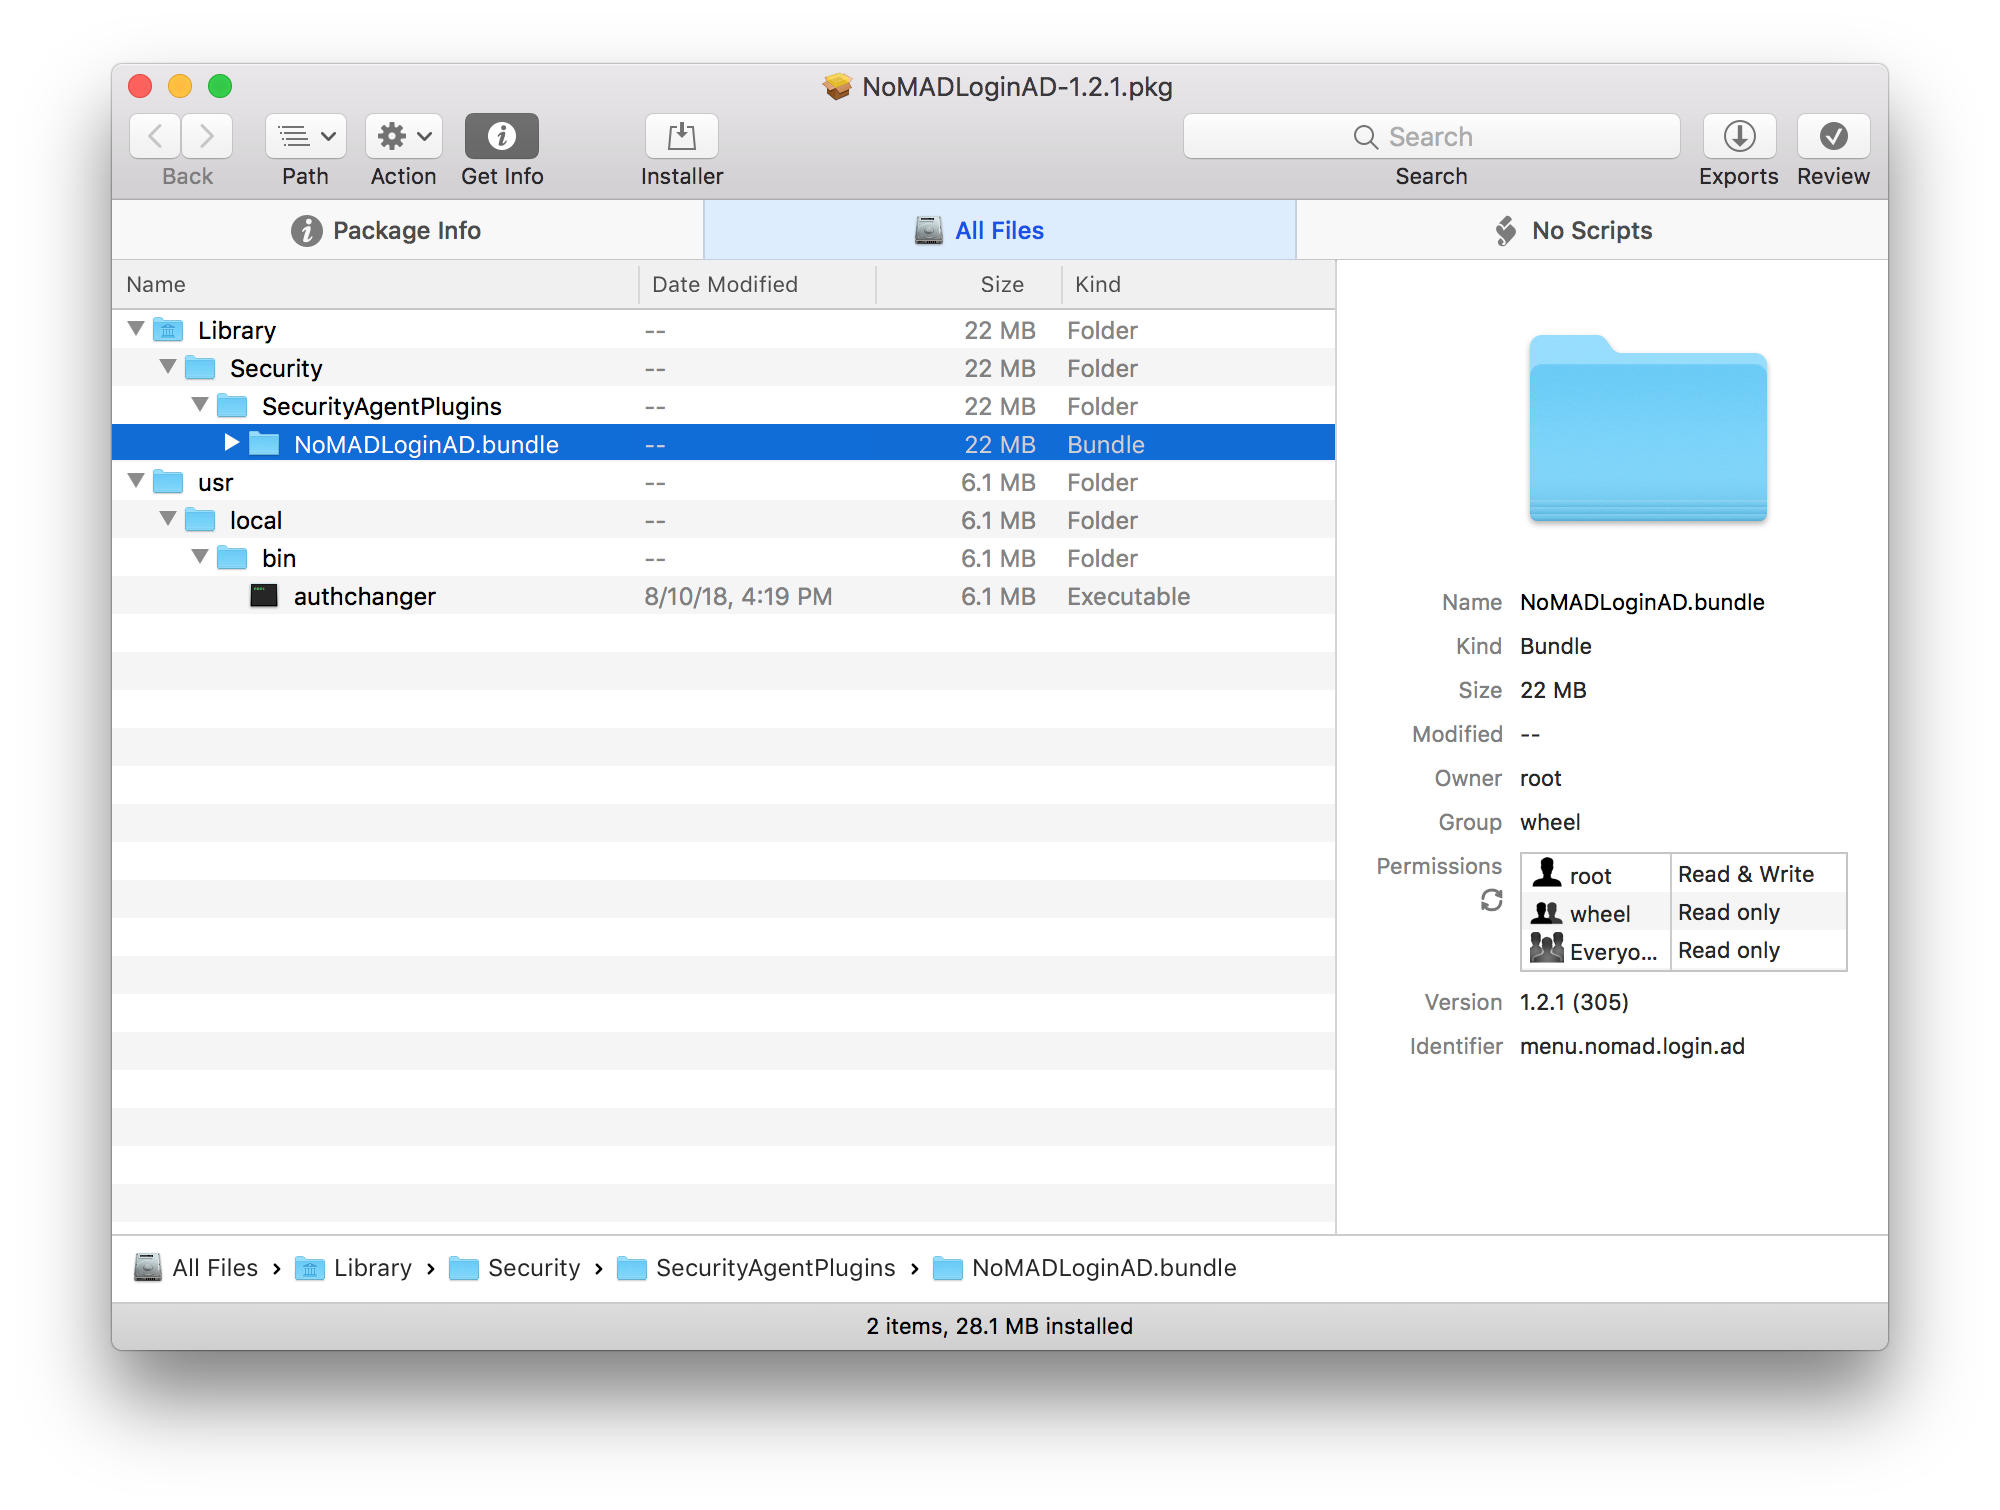
The only difference is a postinstall script in NoMADLogin-authchanger.pkg.
#!/bin/bash

# Post Install script for NoMAD Pro

# Dec 2017 - Joel Rennich joel@orchardandgrove.com

# based on collective work done in the #nomad Slack channel, including from @yohan
# Eventually we'll rewrite this in Swift, but adding in 11 MB of Swift libraries for
# a 30-line post install script seems a bit daft currently

# Start the preinstallation process.

logger "NoMAD Login Post Install Script"

/usr/local/bin/authchanger -reset -AD

logger "NoMAD Login post install completed"
That’s it. Seventeen lines for one command :wink:Thinking those comments need to
be updated too. Both packages install
NoMADLoginAD.bundle and authchanger.
If you want to add mechanisms and run NoMAD Login now then use NoMADLogin-authchanger.pkg. If you only want NoMAD Login files with no change to login window behavior then use NoMADLogin.pkg.
Using authchanger to Deploy NoMAD Login
In my last
post I detailed
how to use a postinstall script to configure preferences using defaults write
commands and kill the loginwindow process to force NoMAD Login to launch.
That script and process remains the same except with authchanger replacing
security commands, and evaluate-mechanisms folder remove since it’s no longer
needed. The postinstall script below can either be included in a Jamf Pro policy
or added directly to a package. Before using it edit in your favorite text
editor to add or remove preferences as you’d like following
the preference keys
reference. For
example, to add LDAPOverSSL include the line below.
defaults write /Library/Preferences/menu.nomad.login.ad.plist LDAPOverSSL -bool TRUEThere are a few variables included in the example to more easily set common preferences. The script will…
- Set preferences
- Use
authchanger -reset -ADto set authorization mechanisms - Kill loginwindow process to force NoMAD Login to launch
A longer example can be found in my AutoPkg repo where there’s a
recipe to include a postinstall script directly in the package. Some people prefer
separating package and script, I prefer them bundled together. The advantage to a
package based postinstall script is that it’s portable. That package can be
copied to any machine to be used without a management tool like Jamf Pro or
Munki. Keep in mind though as soon as that package is installed NoMAD Login will
launch. Reverting back to stock login window behavior will require running sudo authchanger -reset.
I haven’t been able to figure out how to write a download recipe to handle a .zip file containing multiple packages. If anyone out there would like to write one or help point me in the right direction please do!
And as always, please join us on the MacAdmins Slack team in #nomad-login.